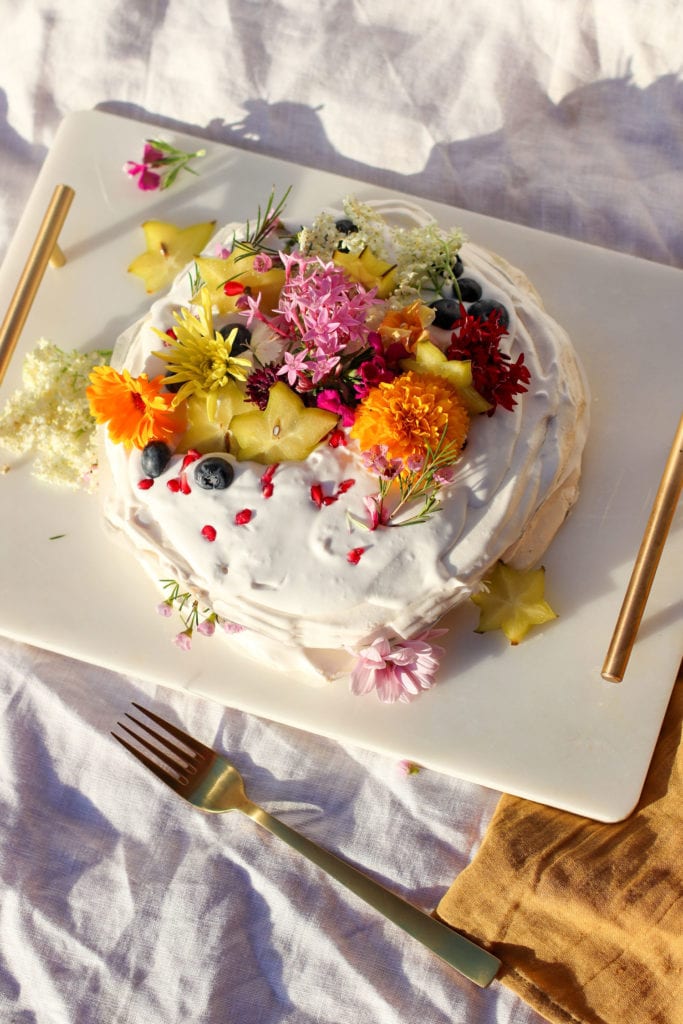
Vegan Christmas Pavlova
Vegan | Gluten Free
Time: 3hours
Serves: 8
@the.sunnystudio
What’s an Aussie Christmas without pavlova?
But what can we serve those with egg allergies or that are vegan? Would you believe us if we said, chickpea water?? That’s right, the leftover liquid in a can of chickpeas is actually very similar to egg whites and works the same if you know how to treat them right. Adding ACV at the beginning of the process helps break down the proteins in the aquafaba and significantly reduces the time whipping. Remember, this recipe is a labour of love.
In our experimenting for this recipe, we desperately tried to make this a little less sugary and attempted to use xylitol, but they ended up more like gum than pavlova. The best part of pavlova is the sweetness so we opted for our certified organic raw sugar instead. We suggest using a mortar & pestle, or a resealable bag and using a mallet to help create finer grains of sugar – this will make the dissolving process easier later.
Enjoy getting family members involved and creating a pav decorating platter with a variety of summer fruits for them to help themselves!
Ingredients
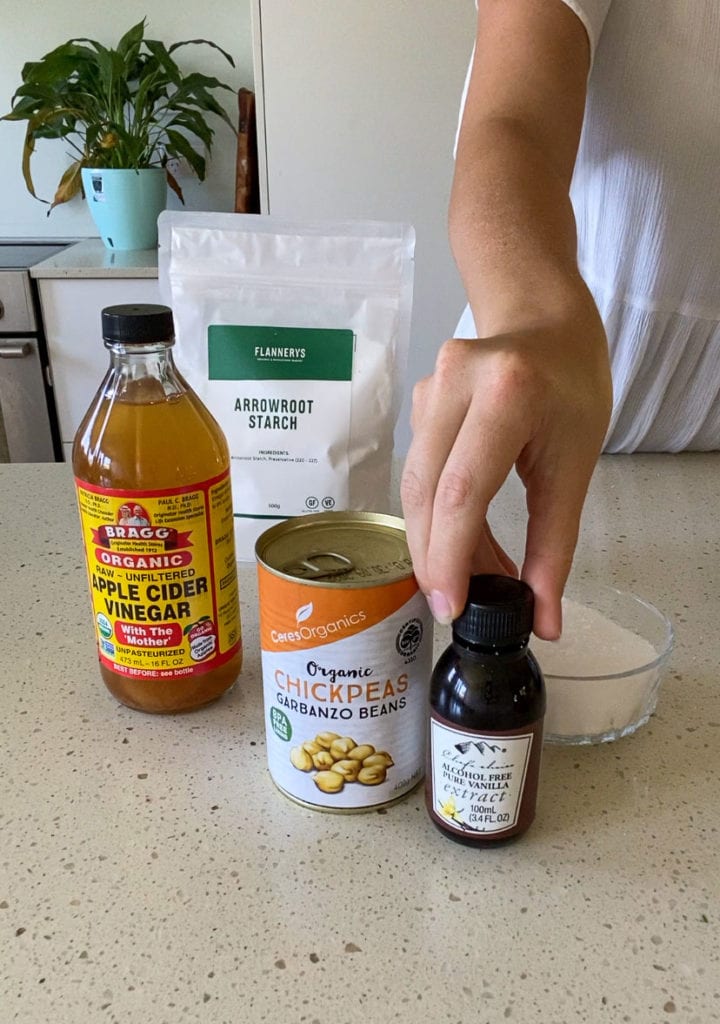
- Ceres Organics Chickpeas (placed in fridge overnight)
- 1 tsp Bragg Apple Cider Vinegar
- 1 Tbs OWN Arrowroot Powder
- 1 cup OWN Certified Organic Raw Sugar
- Pinch salt
- 1 tsp Chef’s Choice Vanilla Essence
- Chef’s Choice Coconut Cream (in the fridge overnight – do not shake)
- 1 tsp Chef’s Choice Vanilla Essence
- Edible flowers
- Seasonal fruits (Starfruit, pomegranate, blueberries, mango, passionfruit)
Method
1. Preheat the oven to 140 degrees celsius.
- Drain the chickpeas, reserving all the water (aquafaba) this is going to be the base of the entire dish.
- Place Arrowroot powder, raw sugar and salt in a separate bowl, mix and set aside.
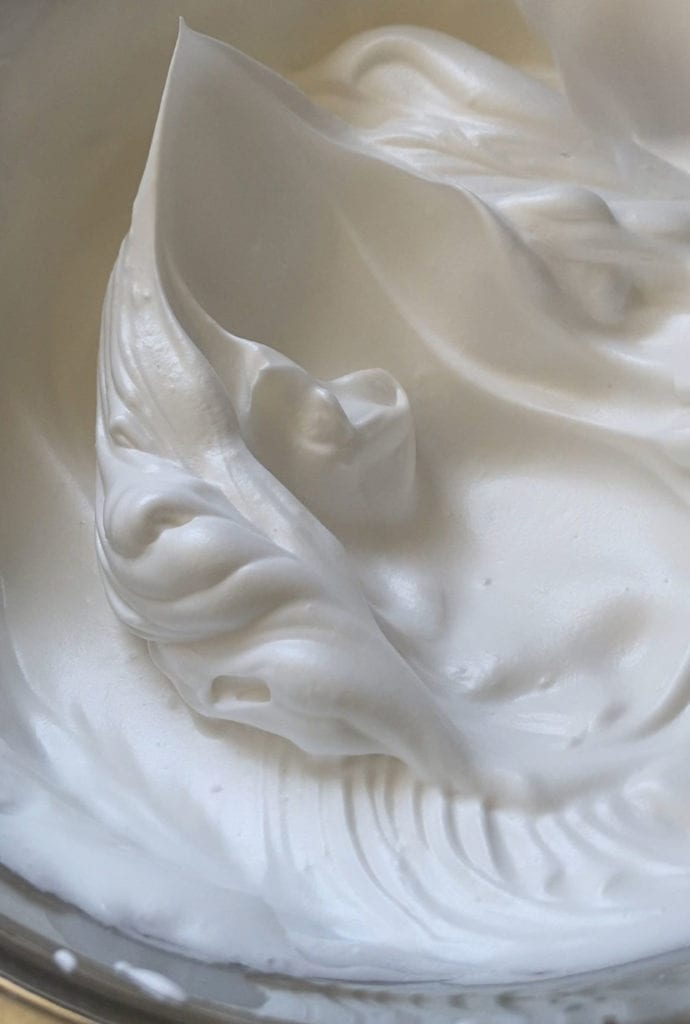
- Using a clean metal bowl and an electric beater or stand mixer, begin to whip the aquafaba and the apple cider vinegar for 10 minutes until it’s looking aerated and fluffy with soft peaks.
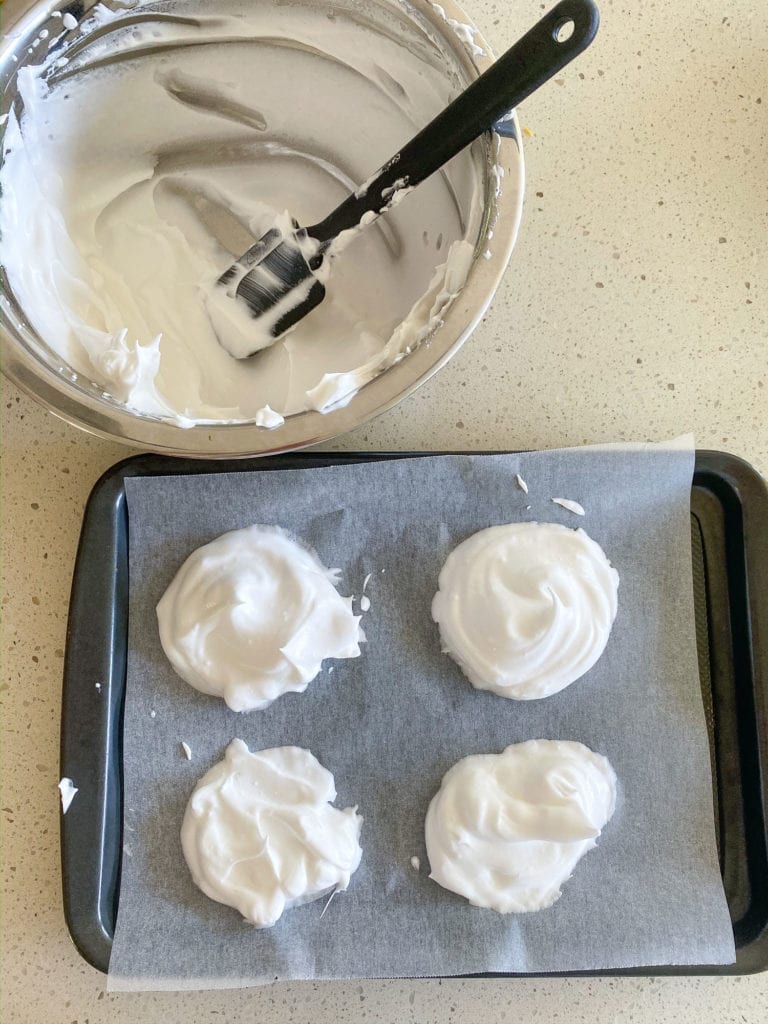
- Continuing to whip the mix, add the sugar mixture to the bowl 1 tablespoon at a time and whip until it dissolves. Your pavlova mix will start to look glossy, quadruple in size and form stiff peaks. When you get to the last tablespoon of sugar, add the vanilla essence and mix for another minute.
- Line 2 trays with baking paper, and work quickly to pipe or scoop the mixture onto the tray in either 2 large circles, or multiple smaller circles – depending on your preference.
- Pop the trays in the oven and immediately turn temperature down to 120 degrees. Bake for 2-2.5 hours, depending on thickness.
- When looking golden, turn the oven off and leave them inside the oven to cool down completely.
- While cooling, you can begin to create your whipped coconut cream.
- Using a spoon, scoop the coconut cream from the top of the cooled can, don’t use the coconut water that has sunk to the bottom (save that for a yummy smoothie instead).
- In a clean bowl, whip the coconut cream and vanilla essence until soft peaks have formed.
- Begin to carefully arrange your pavlova, you can use your two large pans to create a tiered effect with cream in the middle and on top. Decorate with seasonal fruits and edible flowers.
- Serve immediately to the applause of your guests.
