17.12.2018
Ultimate DIY Christmas Hamper Guide!
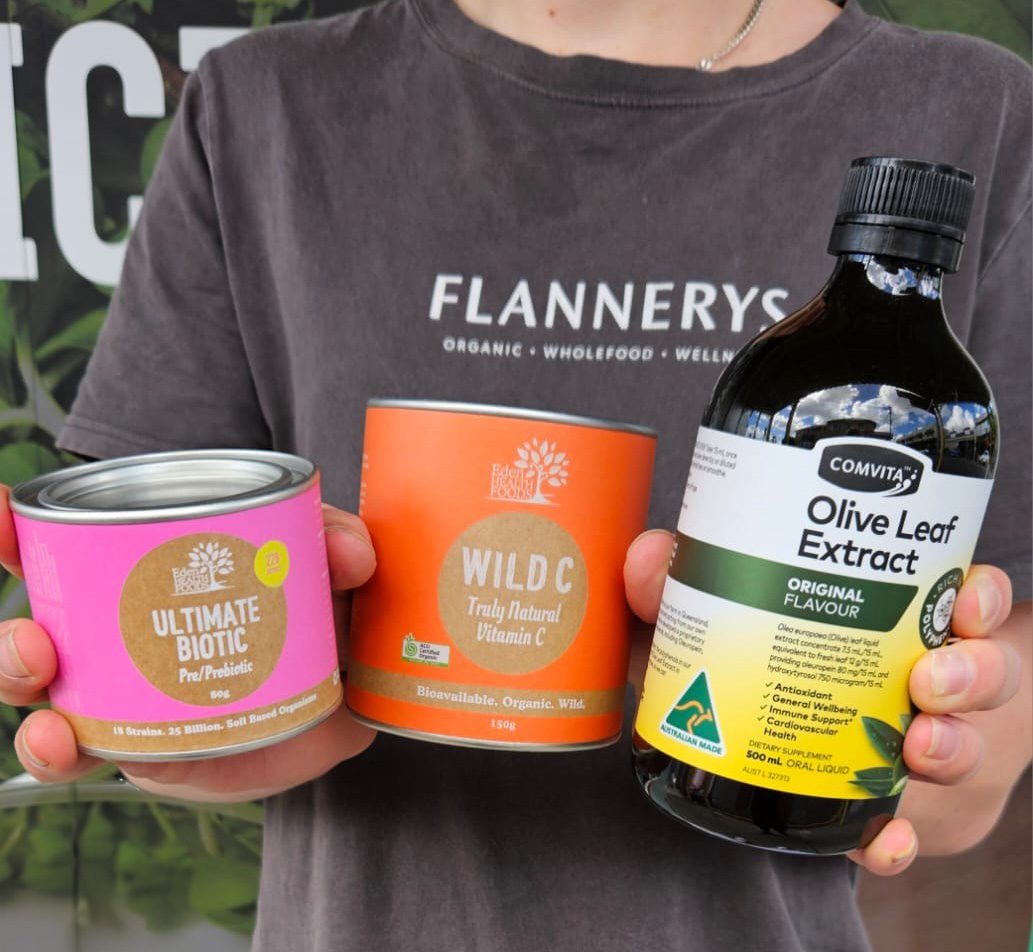
Having trouble finding that perfect Christmas present, or you can’t make a decision between a few different gift options? Check out our Ultimate DIY Christmas Hamper Guide.
Creating a DIY Christmas hamper expresses a personable touch, tailoring your ideas to a specific person while also adding your own design flair. With the countdown to Christmas now upon us it’s time to get to work on those Christmas wish lists. We are here to help you tick off that list all in one place!
Starting your Hamper
Personality:
Start with a dollar value and theme intended towards your special person / family. A little Inspiration can go a long way, so think about what your loved-ones like to do and treats they love to eat.
Hamper levels:
Look for different varieties of shapes and sizes when purchasing your hamper gifts – small, medium, large sized items where possible (this helps with layering the hamper later).
Hamper choice for packing:
Upcycling is best! Look for boxes, baskets, a piece of cardboard covered in fabric, cups, pot plants buckets, planters, a serving tray, and bags – or make your own container.
Hamper wrapping:
Look for Eco-friendly options, such as ribbons of twine, fabric, or leave your basket open
Hamper base:
Shred recycled paper or scrunch for placing at the bottom of your hamper
Other items needed – Tape, scissors, ribbon, gift tag
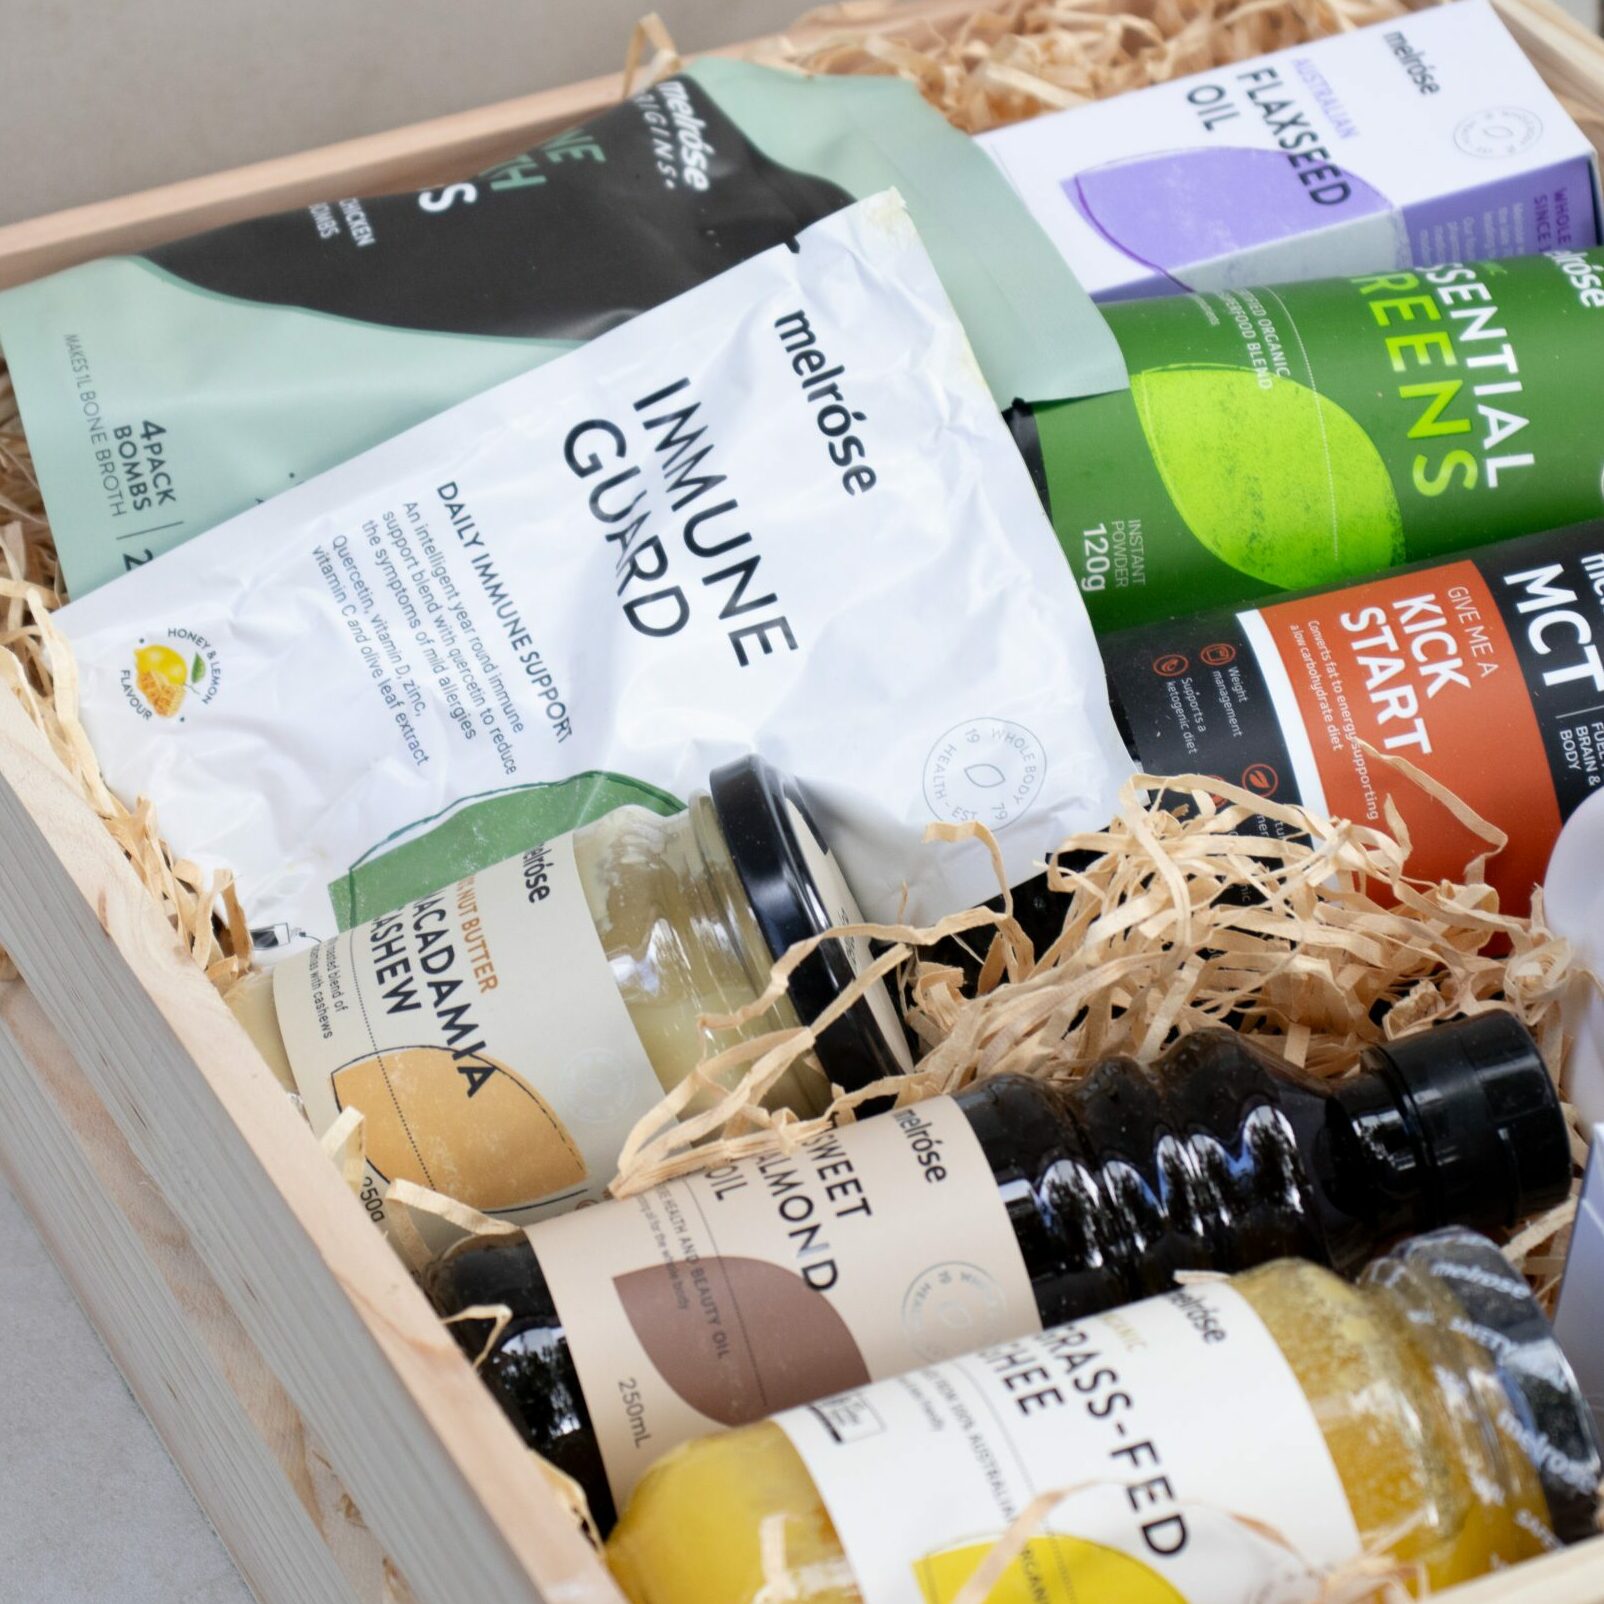
Hamper Fillers
Larger items:
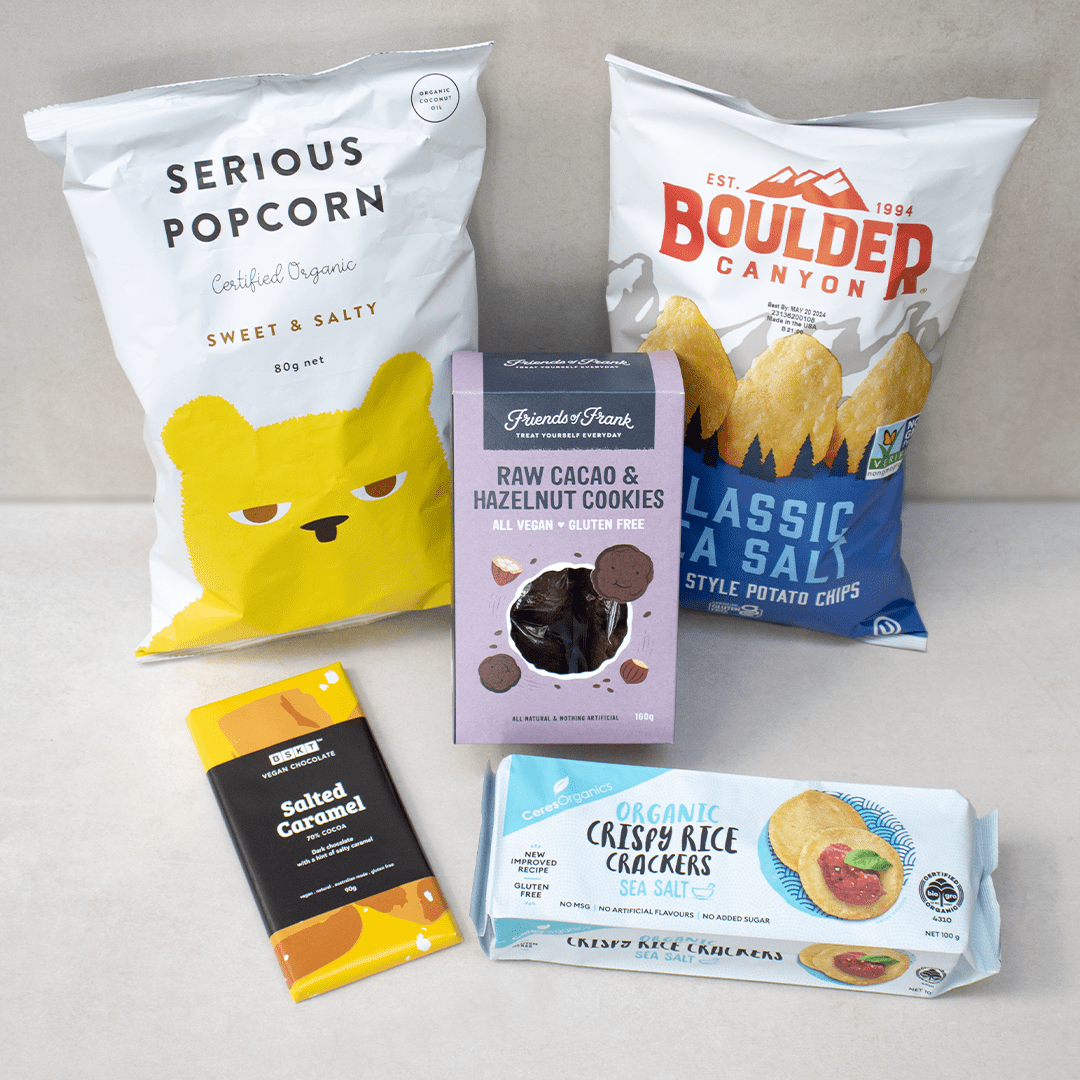
Aromatherapy diffuses, Himalayan salt lamp, fancy drinks (coconut water or kombucha, sparkling juice), and a variety of chips, popcorn and Christmas cakes
Medium items:
Mince pies, sauces, chutneys / jams, reusable coffee cups, Eco-food containers, chocolates, magnesium packs, books, fresh produce (pineapples).
Smaller items:
Condiments of all sizes, small chocolates, liquorice, skincare products – hair care, lip balms, candles, incense sticks, nail polishes
We don’t recommend using strong soaps or items that may melt in your hamper
You can always make your own biscuits & cakes, or any home made products to enhance the hamper with a personal touch. Check out some of our delicious recipe ideas here
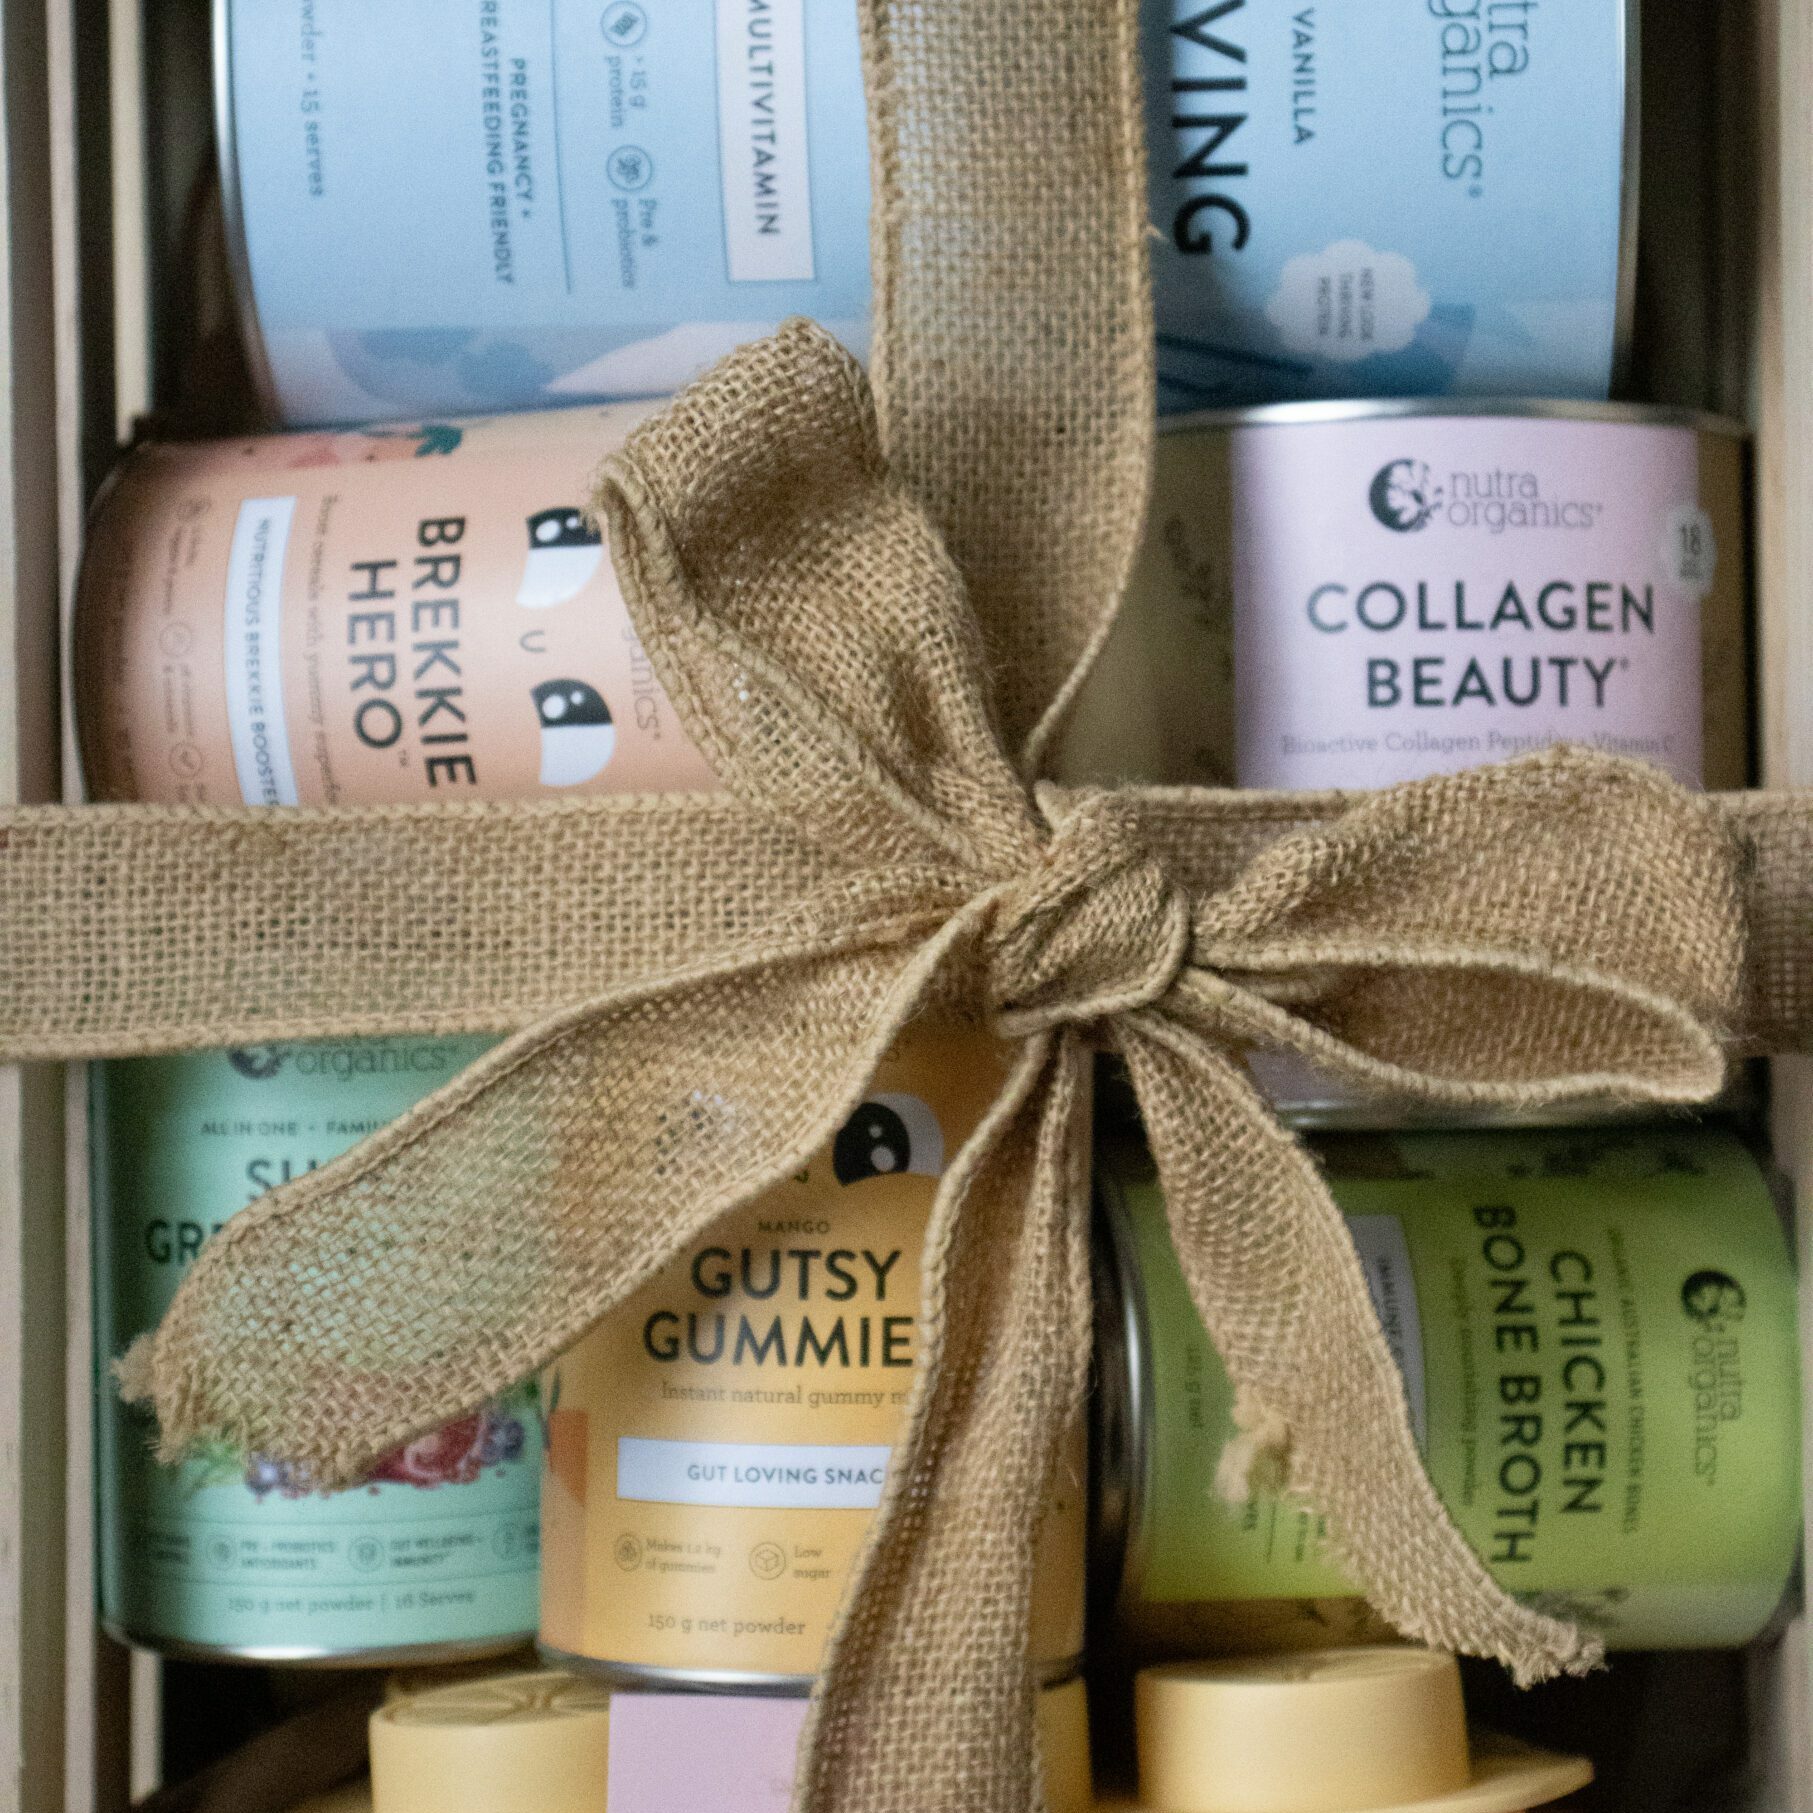
Now for the fun! Gather all your Hamper items into a space where you can make a little bit of a creative mess. Layer your items from back to front, with larger items at the back to smaller items being placed in front. Smaller items can also be used to fill the gaps / consider overlapping products as you go (sticky tape into place if needed).
Arranging your DIY Christmas Hamper
- Place shredded or scrunched paper at bottom of hamper
- Start with larger & taller items at the back of the hamper, spread across the back and then start layering (make sure you don’t lose sight of items here)
- Heavier to medium items should be placed in the middle, at this point when looking at hamper you should start to see a symmetrical shape forming.
- Smaller and light items now get layered in front of the hamper. Keep in mind you can also scatter as infill throughout hamper
- Wrap up with choice – the rule of thumb for wrapping on a roll is to place the hamper in middle and bring all sides up to measure the height before cutting. Allow at least 30cm – 50cm above gathering of wrapping where ribbon will be placed. When gathering your wrapping, you can a twist tie then a place ribbon of choice & bow and then remove twist
- Place Christmas decorations and a personalised or handmade gift tag
And voila, you nailed it! A DIY Christmas gift from your heart to your loved ones.
By Sue Tillotson
Share this post with your friends